To watch a video of this card, please click HERE
- SUPPLIES
- Stamp Sets:
- Altenew Celebrations
- Altenew Birthday Builder
- Inks:
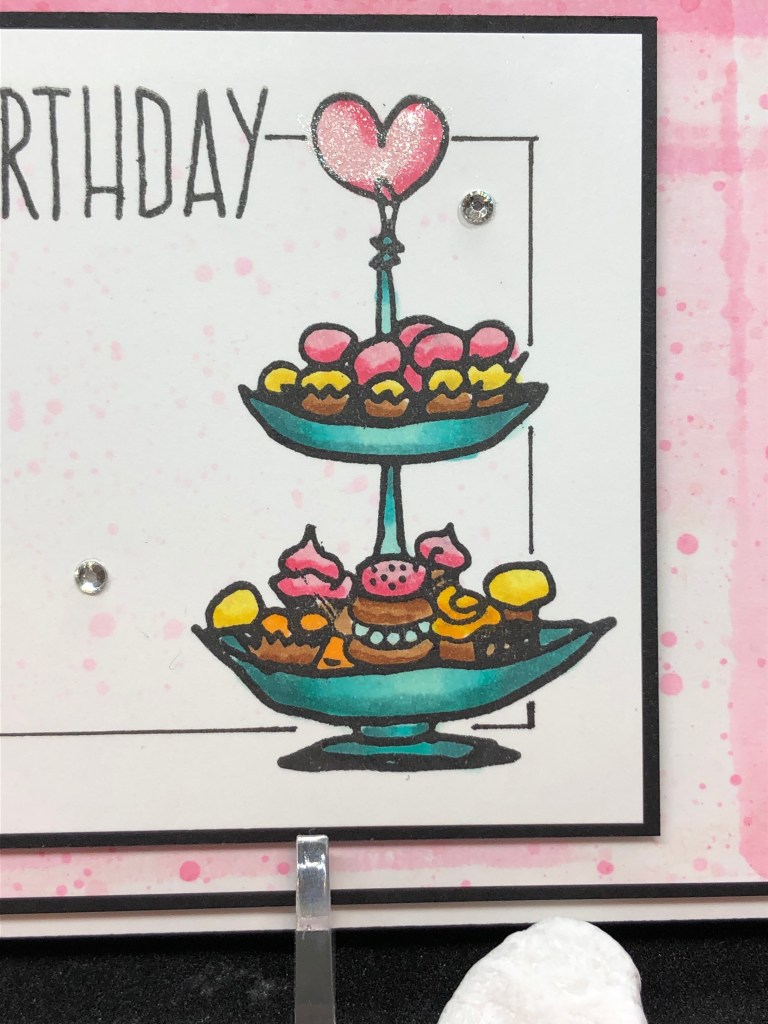
- Copic: Y11, Y13, Y15, Y19, RV11, RV14, BG11, BG15, BG18, E34, E37, E39
- Altenew Permanent Black
- Micron 02 Archival Ink pen
- Spectrum Noir Sparkle Crystal Clear pen
- Paper:
- Basic Black card stock
- Neenah white card stock
- Other Items:
- Rhinestone embellishments
- Foam tape
- Brayer roller
- Isopropyl Alcohol, 70%
- Craft mat or other non-porous work surface
- Quilter’s Plastic Template with Grid
- MISTI stamp positioning tool.
- Stamp Sets:
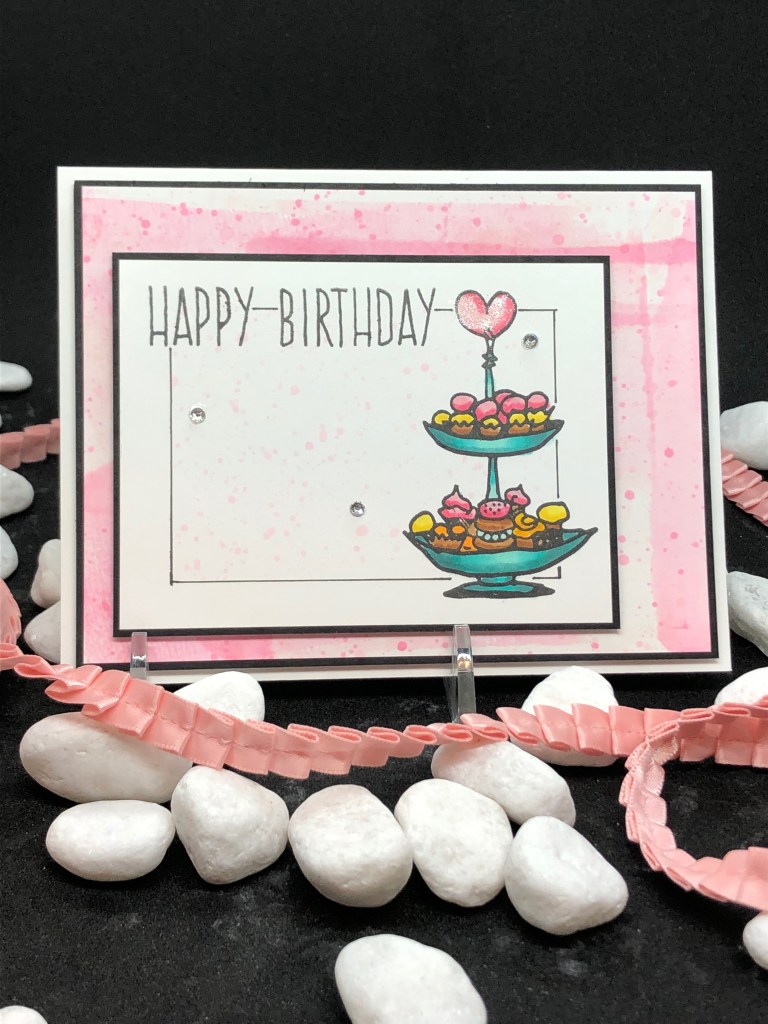
Today I have the pleasure of sharing one of my favorite card design techniques. And it’s so simple but creates a wonderful framing for your stamped images. The focus to today’s card is to show you ways to use alcohol markers and inks “outside the box”. Yes, we color with alcohol markers, but we can also spatter or spread with tools such as a brayer. The possibilities are truly endless. I will share today the two techniques I just mentioned: spatter and a brayer.
I am going to digress here a little…when typing this post my husband and I got into the discussion of spatter vs splatter. I’m thrilled to say “I won” 🙂 Spatter is what we put on a card, splatter are large blobs of mess – like ketchup squirting on the counter top. Just thought I’d share my victory…
OK…back to the card.
To create the background panel of this card I used Copic RV14 to color an area of ink on a non-porous surface. I use an 8 1/2″ x 11″ piece of thick plastic. A crafters mat works great for this. I then spritz this area with 70% Isopropyl Alcohol and rolled a brayer in the ink. Then the brayer is then rolled over the card stock to spread the ink. For this card I repeated this step 3-4 times to get the coloring I wanted. I then used some Copic RV14 ink refill put into a water color tray. I also put some 70% Isopropyl Alcohol in the water color tray. I used a Tim Holtz spatter brush, dipped into the Isopropyl Alcohol then dipped into the RV14 re-inker and spattered onto the card panel until I was happy with the effect. The Tim Holtz spatter brush is new to me. I highly recommend it. The bristles are made from a stiff plastic and work very well. It will wash well and stand up to repeated use for years of spattering. (never thought I’d say that!!). Anyway, you can also use a toothbrush or paintbrush.
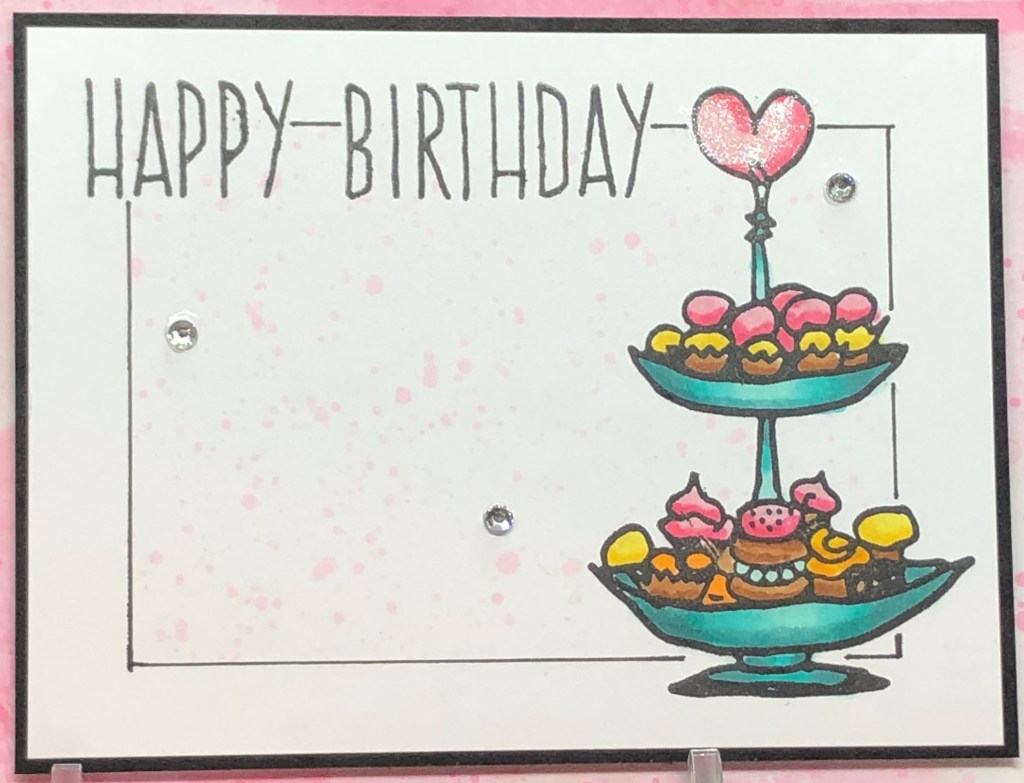
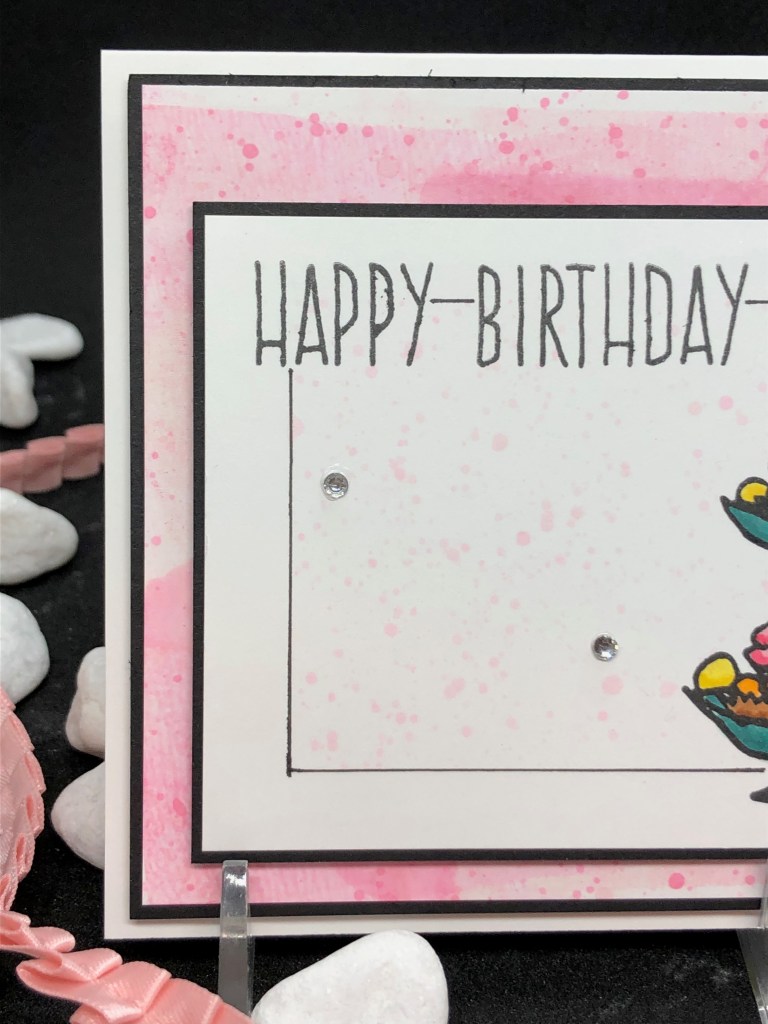
This is the top panel and is the next part of the project. Here is where I share what has become one of my favorite card design steps. You will need a positioning tool. Use a 3″ x 4″ piece of Neenah white card stock and trace it on a background piece of paper placed in the positioning tool. Take this paper out of the positioning tool and, using a corner ruler cut from quilters gridded template plastic, draw a line 3 blocks inside the traced 3″ x 4″ image. Put this paper back in the positioning tool and place your stamps so they will stamp over this line. (see the video for a demonstration of this). Ink the images with an alcohol marker friendly ink. In this case I used Altenew Permanent Black ink. Stamp the images on your 3″ x 4″ Neenah white card stock. Using the corner ruler made from the quilters gridded template plastic, draw a line with the 02 Archival Ink black marker 3 blocks from each edge of the card panel, skipping anywhere there is a stamped image (again, I recommend watching the video for this step). Next, using your alcohol markers, color your image. Using a low tack tape, mask off outside your drawn frame around the images. Again using the RV14 re-inker and Isopropyl Alcohol 70%, spatter desired amount of ink to the panel. Carefully remove the low tack tape, add embellishments and attach to first card panel with foam tape. Put foam tape on the back of the first panel and attach to the card base. I then colored the heart with a glitter pen.
Thanks for visiting today. I hope this inspires you to use your alcohol inks “outside the box”.
Aimee Pankau

That turned out very pretty! Fun read too! Thank you for submitting your work to the AECP assignment gallery.
LikeLike
This is a cute card, love the background, Sandy
LikeLike