
To watch a video about making this card, press HERE
- Supplies:
- Stamp Sets:
- Altenew Sohcahtoa
- Card Stock:
- Black card stock
- Stampin’Up! Smoky Slate
- Stampin’Up! Blackberry Bliss
- Stampin’Up! Highland Heather
- Stampin’Up! Mossy Meadow
- Stampin’Up! Very Vanilla
- Stampin’Up! Daffodil Delight
- Stampin’Up! Crushed Curry
- Neenah white card stock
- Ink:
- COPIC alcohol markers C1-C10
- White embossing powder
- Versamark Watermark Ink
- Champagne Mist All Purpose Ink
- Spectrum Noir Crystal Clear Sparkle pen
- Other:
- Altenew Stunning Cosmos Build-A-Flower Layering Dies
- Altenew Burlap Texture Die
- 70% Isopropyl Alcohol
- Spritzer pen
- Stamp Sets:
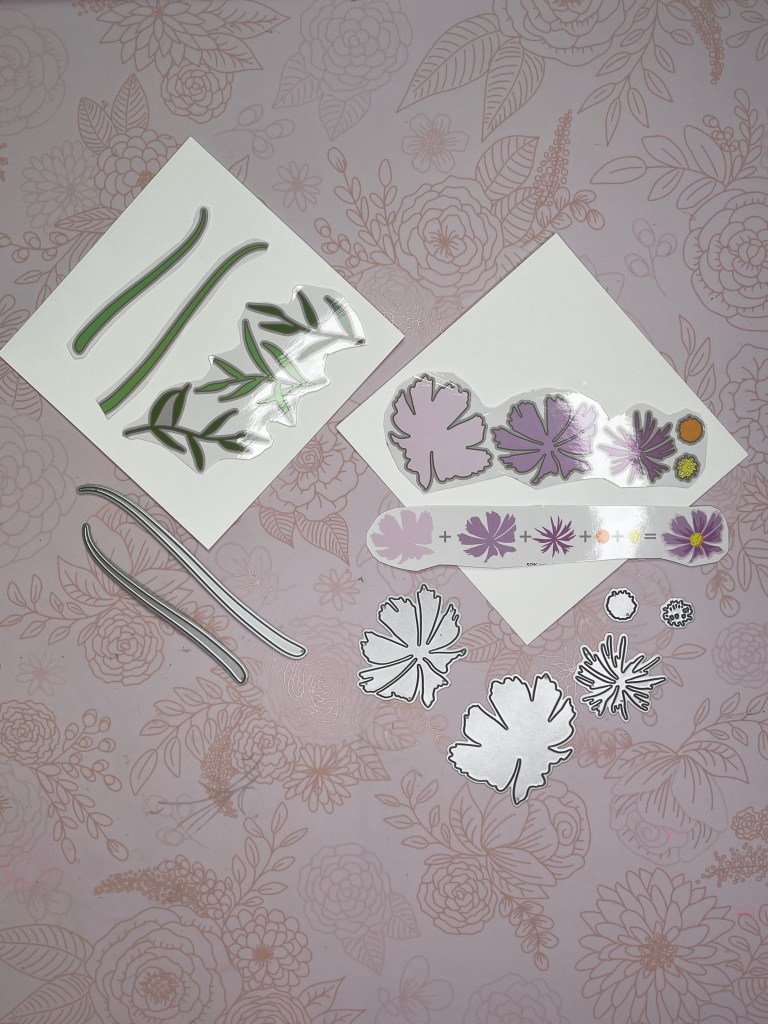
The flowers for todays card were made with Altenew’s Stunning Cosmos Build-A-Flower Layering Dies. Layering Dies create depth with an image much like layering stamps do. They create a fun image with built in dimension. They are fun to use! You can mix and match colors or do a gradient color pallet like I have for this card.
The picture on the left shows the dies that were used to make this card. There are two flowers that come with this set, as well as the stem and leaf dies seen to the left. All the Build-A-Flower sets come with instructions for how to put the flowers together. On this flower, the first two layers fit together easily, but for the top layer I needed the guide.

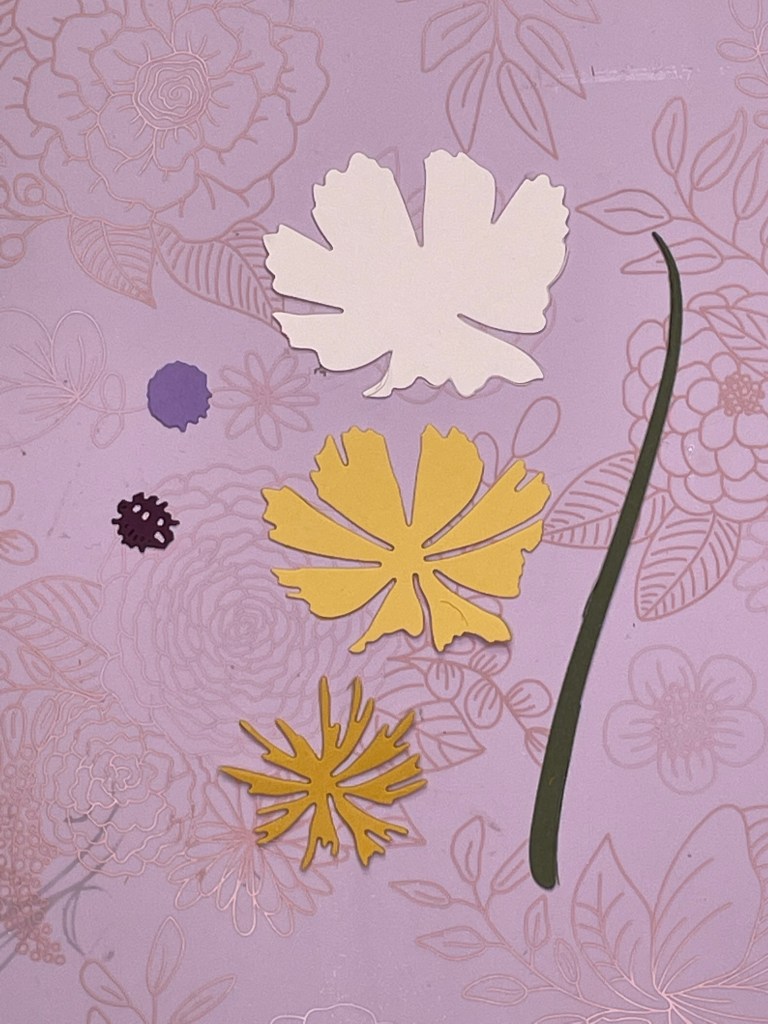
Here is the assembled flower and the assembled flower center. Now lets get to building the card.
First, I prepped the background with Champagne Mist All Purpose Ink to give it a shiny, sparkling look. Place 6-8 drops of Champagne Mist All Purpose Ink in a spritzer pen. Then fill the pen with 70% isopropyl alcohol and shake well. Holding the pen about 6-8 inches away from the black card stock, spritz evenly until the card stock has been covered. Allow to dry. Drying time is 2-3 minutes. The card stock will curl some. Attaching it to the smoky slate card stock will help it to lie flat again.
On a piece of Neenah white card stock, I used COPIC markers C1-C2 to create an ombre grey image. I used Altenew’s Burlap Texture Die to die cut the background image for the card. Attach this to the prepped black card stock with glue in the upper left of the black card stock.


Assemble the flowers according to the instructions in the Stunning Cosmos Build-A-Flower Layering Dies. To fit the three flowers on the card, I decided to have one hang off the right edge, and cluster them in the middle of the card. The two side flowers were glued to the card front, the middle flower and stem are attached using foam tape. The card front is then attached to the card base with foam tape. After the flowers were attached to the card front, I colored them with a Spectrum Noir Crystal Clear Sparkle pen.
When choosing design elements for a card, choose the elements in odd numbers. This is a basic design rule. The brain finds it more interesting, making it more attractive.
After prepping the small strip of vellum with an embossing buddy, which removes static from the vellum thereby preventing embossing powder from sticking where it is not wanted, I stamped the “smile” sentiment in versamark ink, covered it with white embossing powder, and heat set it. This is the attached to the card front with foam tape. The foam tape is placed behind the sentiment so it is hidden from showing through the vellum.
Enjoy your Build-A-Flower dies, have fun and make some amazing cards!
Aimee Pankau

Gorgeous! Can you tell me which course is this submission for? Please let me know via email.
LikeLike
absolutely LOVE this!!! it’s gorgeous!!
LikeLike